Intent는 '전달만 하는 요청'과 '리턴을 받는 요청' 으로 분류 할 수 있다.
먼저 '전달만 하는 요청'에 대해 살펴보자.
전달만 하는 요청은 startActivity()를 통해 다른 컴포넌트로 데이터를 전달 할 수 있다.
실습을 위해 MainActivity와 Activity2를 아래와 같이 구성한다.
[activity_main.xml]
<?xml version="1.0" encoding="utf-8"?>
<androidx.constraintlayout.widget.ConstraintLayout xmlns:android="http://schemas.android.com/apk/res/android"
    xmlns:app="http://schemas.android.com/apk/res-auto"
    xmlns:tools="http://schemas.android.com/tools"
    android:layout_width="match_parent"
    android:layout_height="match_parent"
    tools:context=".MainActivity">

    <Button
        android:id="@+id/button"
        android:layout_width="wrap_content"
        android:layout_height="wrap_content"
        android:layout_marginStart="154dp"
        android:layout_marginTop="148dp"
        android:layout_marginEnd="166dp"
        android:layout_marginBottom="535dp"
        android:text="1+2는?"
        app:layout_constraintBottom_toBottomOf="parent"
        app:layout_constraintEnd_toEndOf="parent"
        app:layout_constraintStart_toStartOf="parent"
        app:layout_constraintTop_toTopOf="parent" />

</androidx.constraintlayout.widget.ConstraintLayout>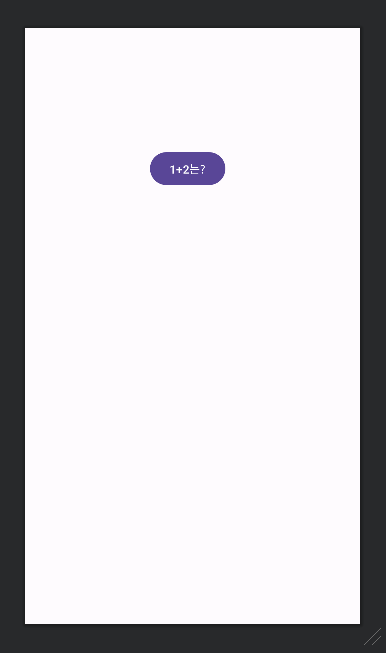
[activity_2.xml]
<?xml version="1.0" encoding="utf-8"?>
<LinearLayout
    xmlns:android="http://schemas.android.com/apk/res/android"
    xmlns:tools="http://schemas.android.com/tools"
    xmlns:app="http://schemas.android.com/apk/res-auto"
    android:layout_width="match_parent"
    android:layout_height="match_parent"
    android:background="@color/white"
    tools:context=".Activity2">

  <TextView
      android:id="@+id/txt_answer"
      android:layout_width="wrap_content"
      android:layout_height="wrap_content"
      android:textSize="40dp"
      android:text="Answer"/>

  </LinearLayout>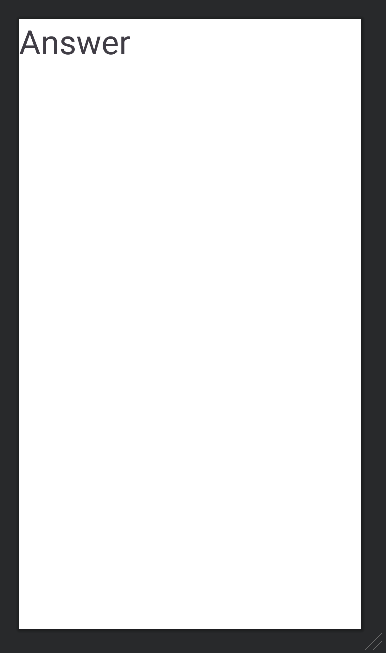
실습의 목표는 MainActivity에서 버튼을 클릭하면 Activity2로 전환되며, Activity2로 1,2를 넘겨서 Activity2의 Answer부분을 변화시키는 것이다.
MainAcitivity에 아래와 같이 코드를 작성한다.
package com.example.androidstudy

import android.content.Intent
import android.os.Bundle
import android.widget.Button
import androidx.appcompat.app.AppCompatActivity

class MainActivity : AppCompatActivity() {

    override fun onCreate(savedInstanceState: Bundle?) {
        super.onCreate(savedInstanceState)
        setContentView(R.layout.activity_main) //화면을 그려주는 부분(해당 레이아웃으로 화면을그려주겠다)

        var change_activity : Button = findViewById(R.id.button)

        //Intent에 정보 담아서 보내기

        change_activity.setOnClickListener{
            //0. Intent 생성(요청 생성)
            val intent = Intent(this@MainActivity,Activity2::class.java)
            //1. Intent에 정보 담기 key:value방식(하나 이상의 값을 보낼 수 있음)
            intent.putExtra("number1",1) // "number1" : 1 형태로 값 담기
            intent.putExtra("number2",2) // "number2" : 2 형태로 값 담기
            startActivity(intent) //요청 보내기
        }
    }
}
버튼에 onClickListener를 달아서 버튼을 클릭했을때의 동작을 정의한다.
버튼을 클릭하면 MainActivity에서 Activity2로 요청하는 Intent객체를 생성하고, putExtra를 통해 인텐트 객체에 정보를 담는다.
정보는 {key:value} 형식으로 담기게 되므로, 키 값만 다르게 한다면 여러개의 값을 한번에 전달 할 수 있다.
위 코드의 경우 number1이라는 이름으로 정수 1과 number2라는 이름으로 정수 2를 삽입하였다.
이후 startActivity를 통해 요청 intent를 시스템에 요청한다.
위 코드는 apply를 사용하여 아래와 같이 깔끔하게 개선 할 수 있다.
apply를 사용하면 블럭으로 묶은 이하의 코드에서 this 키워드를 사용함으로서 intent에 대한 작업을 한눈에 알아보기 쉽게 해준다는 장점이 있으며, 위의 코드와 아래 코드는 문법적으로 완벽히 동일한 코드이다.
package com.example.androidstudy

import android.content.Intent
import android.os.Bundle
import android.widget.Button
import androidx.appcompat.app.AppCompatActivity

class MainActivity : AppCompatActivity() {

    override fun onCreate(savedInstanceState: Bundle?) {
        super.onCreate(savedInstanceState)
        setContentView(R.layout.activity_main) //화면을 그려주는 부분(해당 레이아웃으로 화면을그려주겠다)

        var change_activity : Button = findViewById(R.id.button)

        //Intent에 정보 담아서 보내기

        change_activity.setOnClickListener{
            //apply를 사용하는 경우
            val intent = Intent(this@MainActivity,Activity2::class.java)
            //apply -> this키워드를 사용할 수 있도록 해줌(intent에 대한 작업을 한눈에 알아보기 용이)
            intent.apply {
                this.putExtra("number1",1) // "number1" : 1 형태로 값 담기
                this.putExtra("number2",2) // "number2" : 2 형태로 값 담기
            }
            startActivity(intent) //요청 보내기
        }
    }
}
MainActivity에서 값을 전달하면 Activity2에서는 값을 전달 받아야 한다.
Activity2에 아래와 같이 작성한다.
package com.example.androidstudy

import android.os.Bundle
import android.widget.TextView
import androidx.appcompat.app.AppCompatActivity

class Activity2 : AppCompatActivity() {
    override fun onCreate(savedInstanceState: Bundle?) {
        super.onCreate(savedInstanceState)
        setContentView(R.layout.activity_2)

        //값 꺼내기 : number1, number2라는 키 값이 없을 수 있으므로 예외 처리 필요
        val number1 = intent.getIntExtra("number1",0)
        val number2 = intent.getIntExtra("number2",0)
        var answer : TextView = findViewById(R.id.txt_answer)
        answer.text =  " 1 + 2 = " + (number1+number2).toString()
    }
}
Intent에 값을 넣어줄 때는 타입을 지정하지 않았지만, 값을 뺄때는 얻고자하는 데이터의 타입을 명시하여 함수를 사용해야 한다.
키워드 number1과 number2로 넣어준 데이터는 모두 Integer타입이므로 getIntExtra()함수를 통해 값을 얻을 수 있으며, 해당 키워드에 대한 값이 없을 수 있기 때문에, 두번째 인자로 0을 넣어줌으로서 Default값을 0으로 지정한다.
즉 getIntExtra()는 아래와 같은 형식을 갖는다.
getIntExtra(name, defaultValue)
이제 에뮬레이터를 통해 결과를 확인해보자.
'Android' 카테고리의 다른 글
| 안드로이드 로컬 서버 연동 (0) | 2024.04.24 |
|---|---|
| [Android] TextView에 폰트 적용하기 (0) | 2023.09.12 |
| [Android] Intent(1) : 요구사항, 의도 (0) | 2023.08.27 |
| [Android] Acticity - Life Cycle (0) | 2023.08.25 |
| [Android] 프래그먼트 뷰 캡처해서 이미지로 저장하기 (0) | 2023.08.17 |